Showing posts with label Pedicure. Show all posts

Saturday, September 24, 2011

Tiara Inspired Toe Nail Art


held a contest this month and I decided to join it. I never had any experience regarding nail art contest.
This was actually my very first time to join. 

I promised my friend Bianca that I'll join the contest. I really had a very busy schedule. I almost gave up joining the contest because I don't have that much time for myself. I was really stressed. I thought I won't be able to join. The design that I first chose was really complicated and was hard to do..

I slept late because of that design. The next morning Bianca announced that the submission of entries will be extended for 3 days. I was really happy to learn that but just like what I've said I was busy. The design that i first did wore off already.

That's why I ended up doing this..


This design was inspired by Ms Universe Beauty Pageant. I made a design that looks like a crown. 
I used gold micro beads for this design.


Yesterday I found out that they already chose the winners. 

Too bad for me because I lost.
:-(

I felt really bad about it but at least I tried my best. I really want to win but i guess it's not my time yet. I'm happy for the winners though.

I'm sad because I lost but I'm happy because I tried my best and I didn't gave up when I was about to.


Friday, September 23, 2011

Cutex Indie Glow


Cutex Indie Glow

OMG! I love this color. I really have a hard time dealing with the imported products' prices and availability.
I saw some OPI on Perfectly Polished but they sell it on a very high price. They sell it for 500 something. It is really beyond my budget. I also think that 500 pesos is too much for a bottle of polish. 

That's why I'm really happy to find this product. This is Cutex Nail with Keratin. This is a very old product and owned by Prestige Brand. I think Cutex was one of the popular nail polish before. 

It only cost 109.75 pesos hehe! 
I like it when the brand is very good in quality and the price is very reasonable. 

I'm not sure about the color because it changes depending on how the light strikes the polish. It's called Indie Glow and it's kinda like a mix of purple, grey and green..

More pics..


~o~o~o~


It's nice on toes too.. 
:-)


Tuesday, September 20, 2011

Yakuza やくざ Nail Art


This nail art was supposed to be my entry for the Nail that Art Toe Nail Art Contest.
I thought of a design that has never been on the youtube or other blogs.. I went to the Deviant Art to look for a design and then I saw this picture..


I'm in love with this drawing. I would love this design for me to have on my skin. If only I could get a tattoo.

~o~o~o~

I applied Cutex Indie glow to all my toes. I love this shade it has a sort of a holo effect. I really love it.

I used a Nail Star black nail art pen to draw the details of the dragon's face.

As you can see, i already painted the whole face of the dragon. Its fangs.. Hehe!

I painted the dragon's body on the rest of my nails.. So this is how it basically looked like after I finished it.

On my left foot, I painted a Japanese coi. I painted the coi's face on my left foot's hallux. The coi's face was perfectly painted but the body was an epic fail!

I wasn't able to finish it...BUT, I'll do this again next time. I won't give up.

:-)

Thursday, September 8, 2011

My Nail Graffiti Giveaway Promo

Hey goddesses! My Nail Graffiti is giving awesome awesome prizes! All you got to do is follow her blog
and you can see all the details there. To know more about it just click, 

These are the cool prizes!

Prize 1

Prize 2

Prize 3

Prize 4

So what are you waiting for?
Join now!
:-)


Thursday, July 21, 2011

Bollywood Wedding Nails


Hi girls! I'm back! I've been busy the whole week. I haven't had any nail polish on for 3 days. Would you believe that? Haha. 

For this blog, I'm gonna feature a Nail Art that I saw from YouTube. I really love the design especially the color combination of Red and Gold. 


Let's Begin.

1 Start by applying base coat to protect your nails.


---

2 Apply two coats of any Gold nail polish. Mine was from Caress, Pure Gold.


---

3 Apply a gold dust to add more shimmer.


---

4 Using a nail art pen, draw lines, curves and dots. It's really up to your imaginations.


---

Done!
You can now enjoy your Bollywood Wedding Nail Art.
:-)


Bollywood Wedding Nails can also be done on your toenails.


---Inspired by:


I hope you like it. 

:-)

Tuesday, July 5, 2011

Strawberry Nails (Pedicure)

I love this tutorial by cute polish.


So I decided to do this to my toenails first coz I wanna practice.
Here is my Strawberry Pedicure..


I never had any tools for nail art before I did this design. So, basically I have to be resourceful in order for me  to achieve this design. I always thought that it's really difficult to create art on my nails that's why I always do nail art on my toenails first.


I really loved the outcome. I couldn't believe at first that I did it correctly. I was so proud of my nail art. Everyone was looking at my toes.

:-)

Monday, July 4, 2011

Bluer Than Blue Nail Art (Pedicure)

Hi Girls! As I've promised, here is the continuation of my Bluer Than Blue Nail Art for Pedicure. I hope you'll enjoy this one too. Have fun!


I already did my nails at my right toes. So I;m going to show you a step by step procedure of this Bluer Than Blue Nail Art.

Let's start.

The Hallux


1) Start of with a clean toe nailwith base coat . 2) Apply a Neon Blue polish. 3) Then put a Silver polish diagonally going to your right. 4) Using a dotting tool, make a dots using a Warm Blue polish at the sides of the diagonal Silver polish.


5) Place a white flower Nail Art Decals or Sticker overlapping the silver polish. Then apply a Silver glitter all over your nail.


The Long Toe


1) Start witth a clean toe nail with base coat. 2) Apply a Warm Blue nail polish. 3) Using a dotting tool, make a small dots. 4) Place a 3D Nail Art Sticker or a water decal. it can be any deign as long as it's black.

The Middle


1) Start with a clean nail with base coat. 2) Apply a Neon Blue polish. 3) Place a 3D nail art sticker or decals. It should be white. 4) Make a horizontal line using a silver polish.


5) Apply a Silver glitter.


The Ring


1) Start with a clean toe nail with base coat. 2. Apply a Warm Blue polish. 3) Using your dotting tool, make dots all over the toenail. 4) Place a 3D Nail art sticker or decal. it should be black.


The Little Toe

1) Start with a clean toe nail with base coat. 2) Apply a Neon Blue Nail polish. 3) Place a white 3D Nail Art Sticker or decal and apply silver glitters afterwards.

Done!
:-)
Enjoy your Nail Art! 

Thursday, June 30, 2011

Pam's Pedicure


I don't like going to a salon for a pedicure. The equipments are being used by different people. Eww..
Anyway, this is how I do my pedicure. I'm not a pro but at least I'm sure that my equipments are clean and I'm the only one using it..

                                                                         STEP 1


I removed  my old nail polish gently. Some nail polish are very hard to remove because I put several application (base coat, 2 or more application of my desired nail color and top coat). Since the polish is thick, it's easier to peel it off without damaging my nails.


I used Hortaleza Professional Nail Polish Remover because it's gentle and it doesn't smell awful. It smells like strawberry. Anyway, exposing your nails with acetone regularly is very harmful. It can cause contact dermatitis. Some nail polish has very strong ingredient. That's why I peel my old nail polish so that I won't expose myself with too much acetone.


STEP 2


Using a q-tip with acetone, I removed the remaining polish at the sides of my toenails. 


STEP 3


I soaked my toenails with cuticle remover to soften them. I left it for 2-3 minutes. 


This is a really good trick because after this, it'll be easier for me to remove the dead skin on my nail plate and in-grown toe nails at my nail groove.


STEP 4


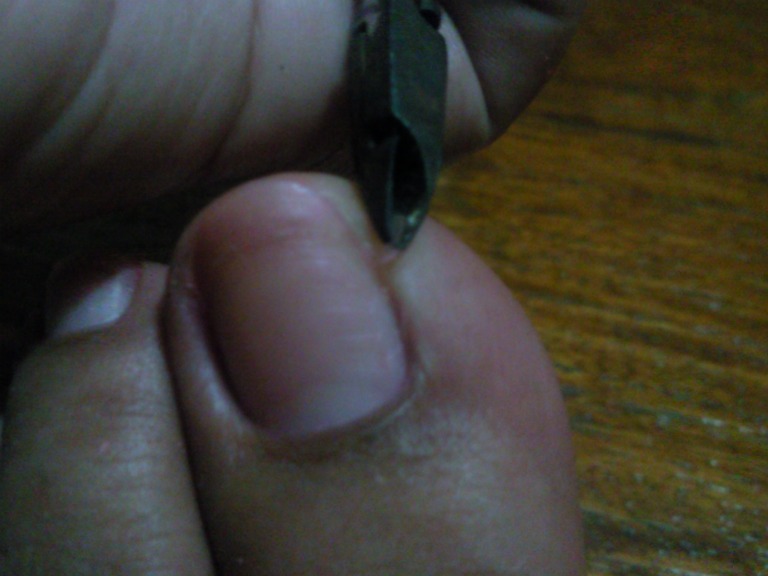
Instead of pushing the in-grown and excess skin of my nail towards my eponychium (which mostly do), I pulled it upward so that no in-grown will remain. 


Step 5


I put Benzalkonium Chloride to my nail groove to keep my nails sanitize. This will serve as an anti-septic and disinfectant. It also left pinkish tint to my nails.


STEP 6


I brushed my nails gently to spread the benzalkonium chloride..


All the products were spread evenly. Wow it's so clean!


STEP 7


I applied a colorless nail polish to protect my nail plate. It's up to you if you want to apply a color to your toenails but for me, I left it like this. I want my nails to have a timeout from nail art. He he he. 

Done!


I love it!!! 
:-)