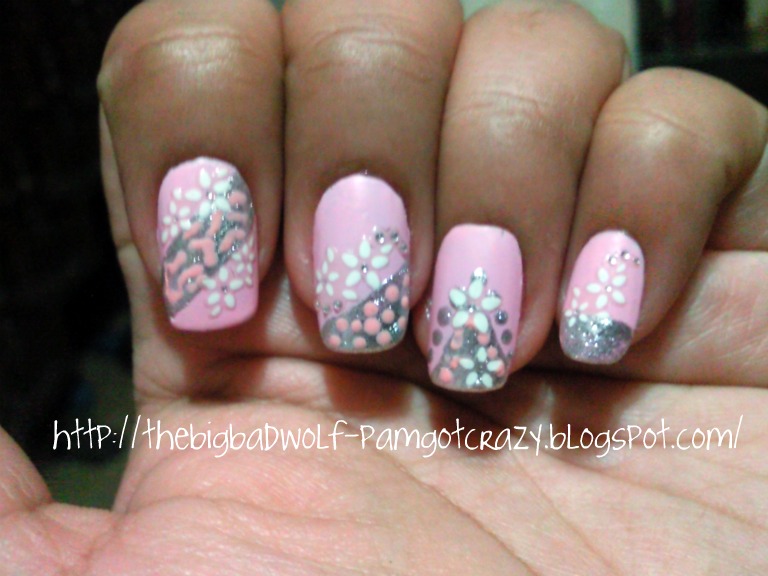
Showing posts with label Tutorial. Show all posts

Tuesday, October 25, 2011

Baby Shower Nails By Request


Hello goddesses!
This is a quick post for my friend, Zhai. She requested this nail art for her Baby Shower. I asked my friends from  NailNation fun and Polish Talk if they could give me ideas about this nail art. I've never done any nail art for a certain family celebration lolz!

Anyway, some girls said that I should draw a feeding bottle, a stork, diapers so on and so forth. I love their idea, really... BUT, I think it will look to much cartoony. It might also take away the attention of the guest from the baby. So, I went for Irene Jung's (of colorsmitten) idea. She said I should use pastel colors.

I originally pick 3 colors but I'm going to post about it next  time.

Anyway, I want this nail art to be appropriate in both gender. I know that the mother will wear this but it should have something to do with her baby's gender, right? So I chose the shades of GREEN. This color is versatile that's why I love it. There was a year that this color became the new pink. It was in!


These are the products I used for this Nail Art:
LA Colors Art Deco (Silver), 24k (Snow White), San San ( Emerald Green, Sea Green)
                                                                                  

If you don't like green, here's another color.

   
Products I used:
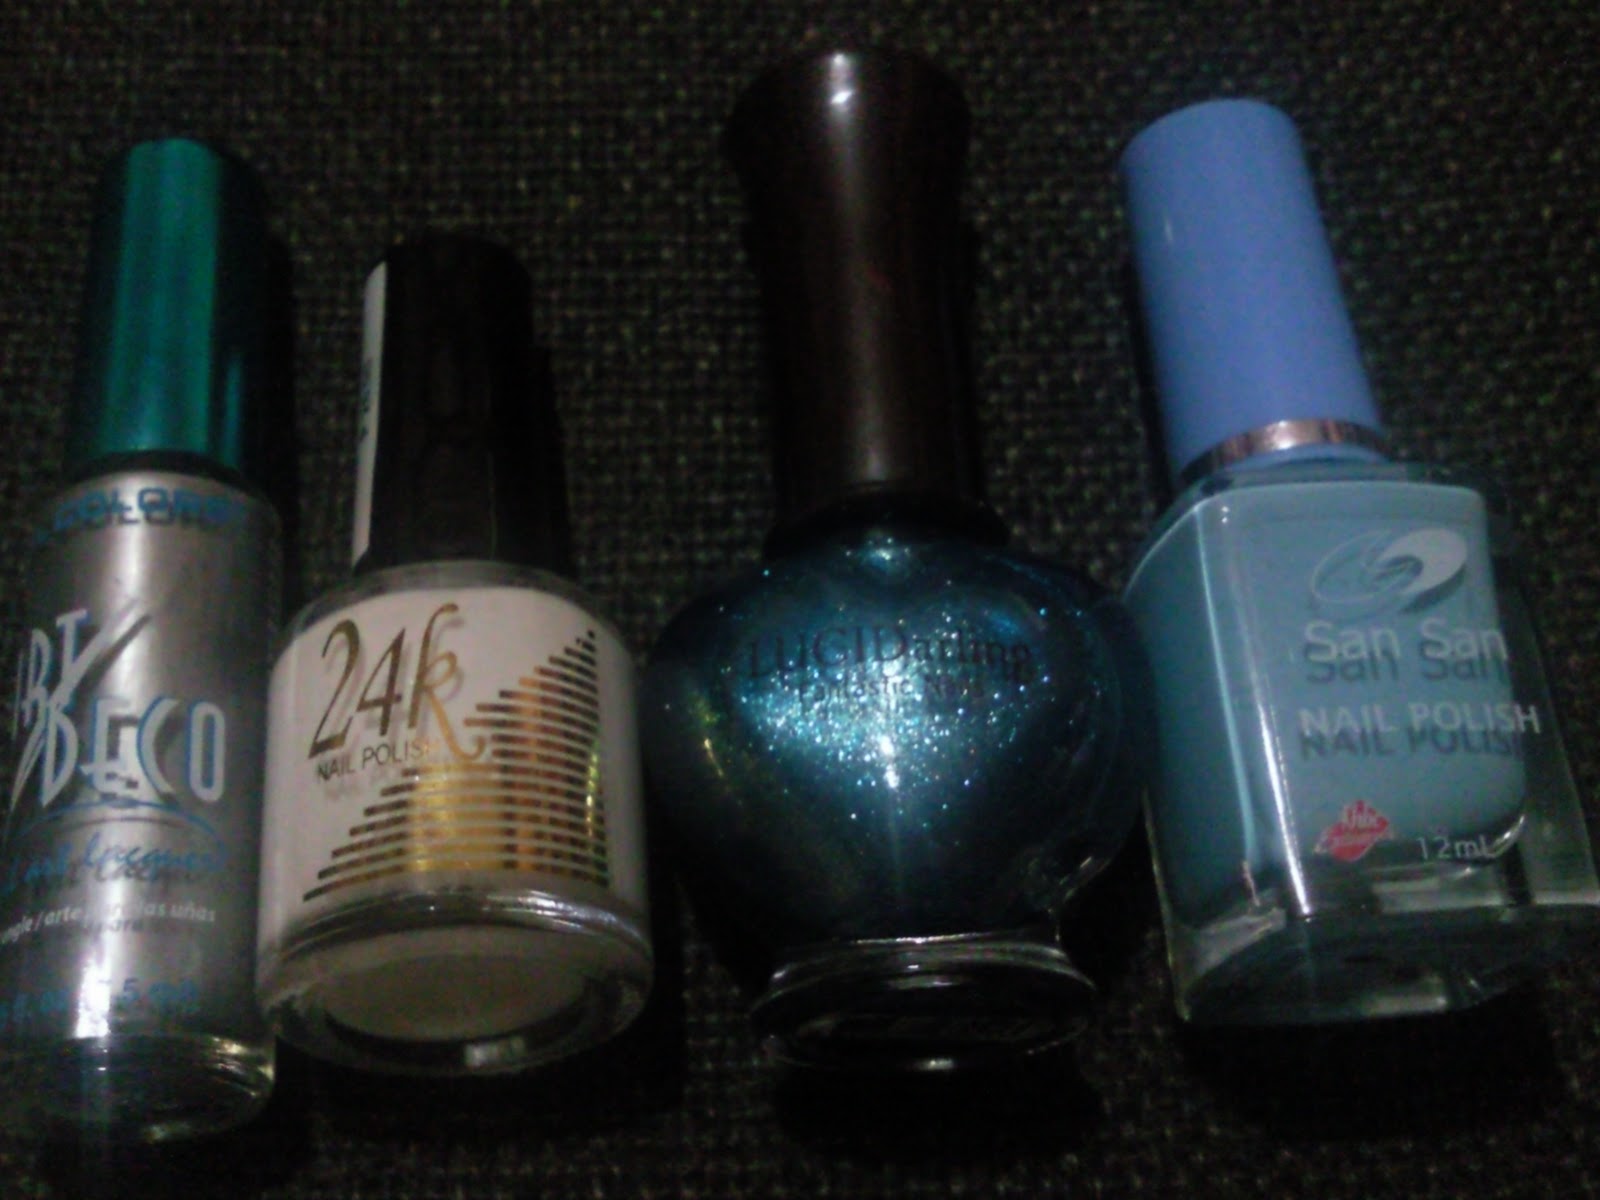
 I also used the image plate above too.

I hope you'll like it.

Please let me now what you think by leaving a comment.
Thank you!

Friday, October 7, 2011

Jazzing Up My First Matte Polish

Hello godesses!
I just bought my very first matte polish and it's from Etude House. The color that I chose is Petite Darling Nails Matte #10.


I think this is quite expensive because it costs Php 98.00 ($2.24) for a very tiny bottle.
Anyway, I think it will be worth it.

This is how it looks like on my fingernails.


Isn't it really pretty? I love the color.. It's sooo sweet. i applied 2 coats because I really want it to be opaque. My hubby thinks that my nail looks funny because of the color. I don't care 'coz I'm loving it!

I like art. So I decided to jazz up my first matte polish.
Wanna see the outcome?
^.^


Did I mention that these are fake nails? Wanna see how it looks like when I took them off?
:-P


Hehehehe..

Wednesday, October 5, 2011

Idol Nail Art


Hello godesses!
K-pop, J-pop, P-pop and other singing groups are very popular in our generation. They are called "idols". Their popular style started here in Asia. They have these outrageous outfits, glamorous hairstyle and of course cute nails!


What I like about idols are, they have different personalities yet they complement each others. Just like colors! That's the reason why nail artists like me designs a nail art inspired by these idols.

Anyway, let's look at the design one by one..

Thumb
I used San San's Sea Green, Etude House's Petite Nails Hot Pink and a Gold striper. I painted it vertically. I was surprise to see that the colors look good together. A drew a white heart and applied a silver glitter polish all over the heart. To finished it up, I put pink nail sequins to outline the heart's shape.

Index
This is my fave design. I made this accidentally haha. Anyway, I just applied it zigzag. i don't now hot to put it in words. Sorry. I just love it!

Middle
I applied gold nail polish all over the nail. This is very simple too but it looks fab because of the colors. I just put dots randomly..

Ring
I applied a Pearl White as a background. I drew half a star using a pink nail polish and then I outlines it with gold striper. I used Sea Green nail polish for the designs on the sides and outlined it too with gold striper.

Pinky
Pearl White for the background. I tried to make a cheetah pattern but it kinda failed. It sucks! I just put a fimo and 3 rhinestones to jazz it up a little bit.

Ta-da!


Sorry guys that it took me like days just to update my blog. Huhu!
I was busy and it became impossible for me to upload pix because someone broke my USB connector. GRRRRRRR!

:-)

Saturday, September 17, 2011

Water Marble Fever

I wish my water marble is as pretty as this pic that I took online..
~o~
I have no idea who started the water marbling. She must be so patient! Doing a water marble is so complicated. The very first time I tried, it was a failure. 

This picture was my first attempt. I already had a sea green nail polish. It has been my manicure for 4 days so I decided to jazz it up by doing a water marble. I thought it was easy...... I was wrong. I put all my effort just to get a perfect water marble but I still failed. I'm really at my wits end. :-(

Yesterday, I tried to do the water marble again. I was hoping that it will turn out good because I'll be using fake nails. The pictures below are the outcome..

Left

As you noticed, there are only four nails in the picture. These are the index, middle, ring and pinky. I don't like  the thumb nail's marble that's why I threw it. So mad..

The Right

What's missing?
~o~o~o~

Okay.. I'm going to make another water marble to completes the fingernails..

I applied a basecoat for the left hand's thumbnail and for the right hand's index and middle finger.

I dropped the polish carefully and  tapped the cup so that the polish will spread.

I quickly dragged the polish using a toothpick to create a design.

This is how they look like. I love the design I made. :-) I'm really happy.

This is the product I used for this water marble mail art.
San San Warm Blue
&
San San Violet Glam


Monday, September 5, 2011

Make Up without Make Up

I love make up! Who doesn't? Even though I'm addicted to nail polishes/art, I will never forget my passion in make up.

I wanna show you the make up I wore yesterday at work. Since it was daytime, what I did to my look was wearing a make up as if nothing is on.. Natural Look.

Here it is...

I applied a light brown eyeshadow all over my lids.

The I drew a line on my lashline using a black pencil.

For my cheeks, I used a tangerine blush on. The lights took away the color but it's really nice.

I used Nichido in Apple Cider shade. Isn't it nice?

For the finished look...


:-)


Friday, September 2, 2011

The Big Bad Wolf's Make Up


Hey godesses! I'm gonna show you the make up that I did for the pictures of my blog's header.


~o~0~o~

I already put some primer after I exfoliated. I also applied my Maybelline 8-in-1 BB Cream as my base.

I use a cream eye shadow and I applied it all over my lids.

For the next step, I used a very light purple and I applied in on the inner and center of my lid.

A darker shade of purple for the outer crease going to the center.

This is my favorite part.. I applied a black eyeshadow overlapping the darker shade of purple.
WAAAAAAAH! I love the effect!

I used the light purple again for the lower part of the eye..

I drew two wings on the outer part of the eye. This was inspired by the Egyptian Make Up.
Sooo gorgeous!

Who would forget about the falsies? Right? I love falsies..

~o~o~o~

Let's see the finished look!


~o~0~o~


~o~0~o~


Make Up that I used for this Blog:
Maybelline 8-in1 BB Cream
ELF Corrective Concealers
Ever Bilena Make-up Cake w/ Vitamin E #559
Ever Bilena Expressive Eyes 4 w/ UVA/UVB Protection
Ever Bilena Matte Lipstick "Mauve"

~o~